Google Earth can show your photos where they were taken. Each photo becomes a placemark, and selecting the placemark shows the picture. The photos need a GPS location saved in them, as phone and drone photos normally have.
Make the Google Earth file
- Open Photos to KML.
- Drop in your photos, or choose a whole folder.
- Check the map. It shows a marker for each photo with a location.
- Choose Google Earth (KMZ).
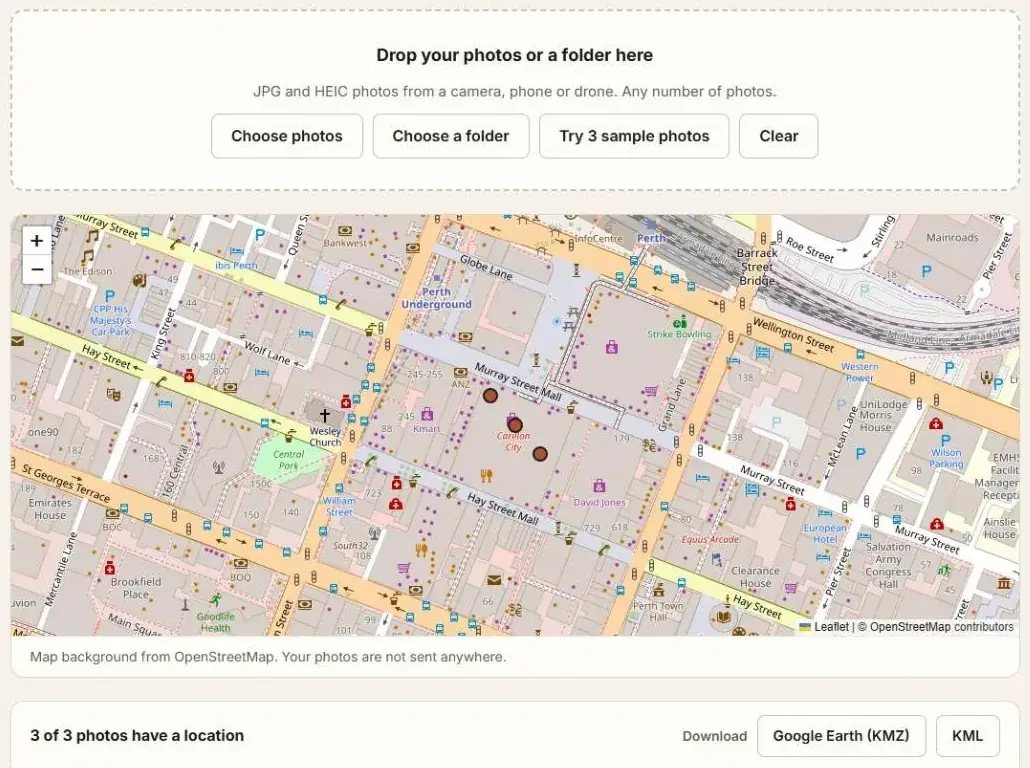
You get one KMZ file. It holds a placemark for each photo and a small copy of each picture.
Open it
Google Earth Pro on a computer. Open the KMZ file from the File menu, or double-click it.
Google Earth on the web. Open earth.google.com. On the home screen choose Local KML editor, then Open KML/Z from device, and pick the KMZ file. You do not need to sign in for this.
Select a placemark to see the photo, its name and the date it was taken.
What is in the file
| Part | Detail |
|---|---|
| Placemarks | One for each photo with a location, named after the file |
| Pictures | A copy of each photo, 640 pixels on its longest side |
| Details | Date taken, camera and altitude |
The pictures are small copies, so the file stays small enough to send. Your original photos are not changed and are not uploaded.
Points only
Choose KML to get the placemarks without the pictures. That file is much smaller and opens in more software. See KML vs KMZ: What Is the Difference?
Questions
Some photos have no placemark. Why?
They have no location saved. The table lists them as having no location. See How to Extract GPS Coordinates from Photos.
A placemark has no picture. Why?
The photo is in HEIC format and your browser cannot display it. The placemark is still in the right place. See Why Don't My Photos Show Up in Google Earth?
Can I send the file to someone else?
Yes. The pictures are inside the KMZ file, so it works on any computer.
Can I just look at the photos on a map without Google Earth?
Yes. See How to View Geotagged Photos on a Map.